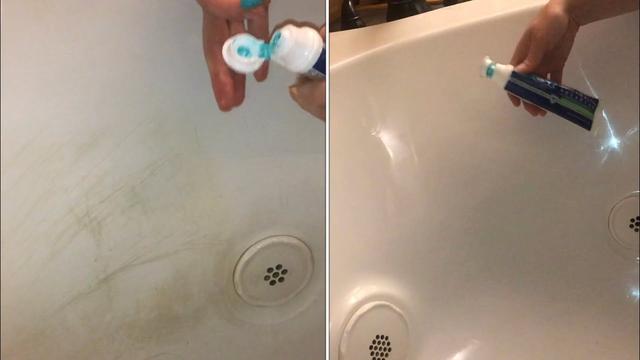
An acrylic bath is bound to get some scratches over a period of time. Seima gives you a few pointers on what you can do when you have a scratched acrylic bath.
In the event that your acrylic bath is scratched after installation, keep calm and read our guide on how to remove the scratches and keep it looking good for a long time.
Acrylic bathtubs have a solid surface, which means the colour goes straight through the acrylic sheet as opposed to colour that’s sprayed or painted on a surface. So, unlike a scratched or chipped ceramic basin, you can remove a scratch in an acrylic bath with a little tender loving care and these instructions.
Things you’ll need: 800 grit wet and dry sand paper; 1200 grit wet and dry sand paper; metal polish (e.g. Brasso); 2 x soft dry cloth; and a little bit of elbow grease.
Directions:
Wet the 800 grit sand paper with water and fold it in half.
Gently rub the bath (in a circular motion) until it becomes difficult to see the most obvious scratches.

Ensure that you keep the sand paper wet enough that it produces a thin sludge-like substance while rubbing the acrylic in a circular motion.
Switch to the 1200 grit wet and dry sand paper.
Wet it with water and fold it in half.
Gently rub (in a circular motion) until there is no sign of previous scratches.
Ensure that you keep the sand paper wet enough that it produces a thin sludge-like substance.
Once the scratch on the bath has been buffed out of the acrylic, wipe the surface dry with a soft cloth.
Apply the metal polish (rubbing in a circular motion) with a dry soft cloth to remove the dullness and return the shine to your freshly buffed and scratch-free bath.
Be patient as well as persistent because this final step is just as time consuming as it is rewarding.
For deeper scratches, keep at it till they are gone. Just be aware that deeper scratches may not always be fully removed.